Pages

Showing posts with label eggs. Show all posts

Monday, January 4, 2016

Spaghetti Squash Breakfast Bake


So a few weeks ago while I was at the doctor's office, it was suggested to me that my normal breakfast (banana, 1 Tbsp nut butter, and a whole wheat wrap) was too carb heavy and I should switch to 2 eggs and citrus fruit instead. *note: the nutrition facts below were created at http://www.caloriecount.com/. I am making the assumption they are correct and haven't bothered to double check their numbers. 

Current breakfast

Proposed breakfast

While I didn't necessarily agree with their proposed breakfast, I tried. I really did. But it turns out eating citrus every day seemed to aggravate my stomach. A lot.

So I set out to find a different breakfast that was lower in carbs, but didn't bother my stomach. And if I could add in some nutrients, that'd be cool too. So for the first try, I wanted to keep the eggs as they suggested, but add in some veggies, and I didn't want to have to make it every day. So I came up with a breakfast bake I could make over the weekend, portion out, then freeze for a grab and go breakfast.

New breakfast


It was pretty easy to make over the weekend. I roasted a medium spaghetti squash in the oven (400 degrees for about 45 minutes), sauteed the tomatoes and peppers, chopped the kale and green onions, cooked the bacon (then chopped it), and then grabbed a big bowl to mix it all together, along with the shredded cheese and some salt and pepper. Why only 3 pieces of bacon? Well, it's all I had. And to be honest, I don't think I would have noticed if it wasn't there. But I did sautee the peppers and tomatoes in the bacon grease so.....


Then spread that out into an 8x8 pan and pour over 7 beaten eggs. 


Bake at 375 for 20 minutes, then drop the heat down to 350 and continue baking until eggs are set, which was about another 10 minutes for me. That gets cut into 9 pieces and frozen. To reheat, cover and microwave on about 50% power for a minute or two.

If I kept it at 2 eggs per day, that would be 18 eggs and I'd probably need a bigger pan to bake it in, but here's what the nutrition would look like:

Thursday, March 12, 2015

Omelet in a Mug

For the last few weeks, some of the ladies at work and I have been having our breakfast at work together. We have all been focusing on eating more whole foods, specifically fruits and vegetables, so we decided to pool our resources and make breakfast easier on all of us. Each of us brings in specific foods-I bring eggs of course-which helps with grocery shopping and weekly planning for all of us. When it's time for breakfast, we meet up in the breakroom and assemble our food.


We chop up our ingredients for the day, which include bacon, ham, salsa, tomatoes, onions, bell peppers, spinach, various cheeses, and avocado.


Then we put them into our mugs, adding 2 eggs at the end and giving it all a good stir.


Next, into the microwave for about 45 seconds on medium power-that's the trick to prevent rubbery eggs which are completely disgusting! Another quick stir and back into the microwave for 2 minutes on medium, or until eggs are set. Depending on your ingredients, it may take up to 3 minutes, just be careful not to overcook it. We usually watch the microwave for the eggs to puff up and fall twice.


Thursday, January 29, 2015

Make Ahead Breakfast Sandwiches

Since our October Unprocessed experiment, we haven't been eating as much cereal. Actually, we eat very little cereal now, if any. I've settled into a nice pattern of making breakfasts for us on Sunday evenings that we will have for the following week, and it's working out very well for us. This week, I made breakfasts sandwiches and they were a big hit all around!


Monday, November 17, 2014

Make Ahead Breakfast Bowls

After our October Unprocessed adventure, I haven't really gone back to cereal as a breakfast staple. I've been sticking to whole wheat muffins, and quite honestly, I was getting bored. I needed something different-and something with substance. Enter the breakfast bowl!


And the best part about these-you can make them ahead of time!

It does take some time to prepare, but it's well worth it early the next morning! Plan on about an hour and 15 minutes to cook and assemble.

Full recipe is at the bottom, but here's how I made these:

Start with potatoes. I used red and purple potatoes just to add some more color to breakfast.

While the potatoes are cooking, you can also cook and chop your bacon.

Then the eggs. Scrambled was the direction we took, but I'm sure other ways would work too.

Then top with a bit of cheese.

All that's left is to pop the lids on and into the refrigerator they go!

In the morning, I can grab one of these as I head out the door. I can heat it up at work and have a hot breakfast bowl ready to go.


Make Ahead Breakfast Bowls
Makes 9 bowls, but if you want to pack them full, then only about 6

Potatoes (enough to cover a large cookie sheet when cut into 1" cubes)
1 1/2 Tablespoons Olive Oil
1/2 teaspoon paprika
1 teaspoon minced garlic
salt
1 lb bacon
About a dozen eggs
1/2 c sharp cheddar cheese (or whatever cheese you like)

Start out by cutting potatoes into 1"(ish) cubes. Then toss them with some olive oil, paprika, garlic powder (or minced garlic), and salt. Spread them out on a cookie sheet and roast for about 45 minutes at 400 degrees, or until soft in the middle with crunchy exterior. Let cool just until they can be comfortably touched.
While the potatoes are cooking (or cooling), cook the bacon. I prefer to do this much bacon in the oven. 400 degrees for about 12 minutes is perfect for us, but you may want to cook it a bit longer if you want crunchy bacon. Drain on paper towel lined plate and chop into bite size pieces.
Last, cook the eggs. I used about 10 eggs, plus some more egg whites (maybe 4?). I had a few containers of egg whites in the freezer that I had put in there over the summer. I figured they really should be eaten soon, so defrosting those and mixing them in here seemed like a great way to use them up.

Then it's time to make the bowls. Start with potatoes, then bacon, then eggs, and top with about a tablespoon of cheese. I tried to make sure each bowl had an equal amount of each ingredient, and I knew I wanted 9 bowls, so I probably only had about a quarter cup of potatoes, 2 strips of bacon, and about an egg and a half in each bowl. But, if you want a bigger breakfast, I would only use 6 bowls. Refrigerate for up to 5 days-or freeze!

To reheat them in the morning, about 45 seconds is all it takes.

These would be really good with salsa, or goat cheese with chives, or I suppose some people would prefer sausage instead of bacon, but I was making these for 3 of us, and I didn't want to mess with figuring out which bowls were mine that early in the morning, so we all got the same.

These were so good, I even got a text from my 16 year old stepson telling me how good they were this morning!

Friday, February 28, 2014

Freezing Eggs

I was trying to come up with a title for this post, but every time I typed something related to freezing eggs, I just knew that most people that search for "freezing eggs" would be looking for something quite different! So just in case there's any confusion, this post is about chicken eggs.

During the summer, we routinely had an abundance of eggs. Usually we when have extras, I sell them. But I knew that going into the winter, the eggs would slow down. I didn't want to have to buy eggs all winter, so we froze some of our extras.


The first thing to do is to separate the eggs. These small containers are the perfect size. 


Each container was labeled with the contents and the date. For the yolks, I used a fork to break each one, but did not stir them. For the whites, I tapped the container on counter a few times to release any air bubbles. Then into the freezer! 


To thaw the eggs, I put them in the refrigerator over night (when I actually thought ahead!) and when I needed them sooner, I submerged the container in cool water for an hour or so. The egg whites thaw out and return to their fresh state. The yolks really thicken up after they've been frozen, so it takes a little more work to incorporate them. I've used the whites to make angel food cake and the yolks to make ice cream. I also mixed the white and yolks and made omelets. Since the yolks really have to be whipped into the whites, the omelets turned out so fluffy and delicious!

The hens continued to lay all winter, but at a much slower pace. I could supplement the fresh eggs with my freezer stash and we didn't have to buy eggs all winter! Their production has picked back up just in time. We just finished off the last of the frozen eggs.

Update....
Somewhere along the way, it occurred to me that it would be easier to freeze each yolk and white individually, in case I just needed one egg yolk at some point. I found these silicone ice cube molds at Meijer and they are the perfect size! I let them set up, then popped out the frozen cubs and tossed into a gallon size ziploc bag. Now I just have to grab as many cubes as I need at a time!


Monday, September 6, 2010

Going Local Week: Eggs


So here in Indiana, it's Going Local Week. It actually started yesterday, but I was out and about picking up some local foods, so we didn't cook. One of my stops yesterday was at one of my family member's small farm. We almost exclusivley get our eggs from them. I have nothing against large scale operations. But if I can save a buck or two each week by having these lovely ladies provide me with a dozen or so eggs, then the husband and I can treat ourselves to a nice dinner out somewhere with the money saved.


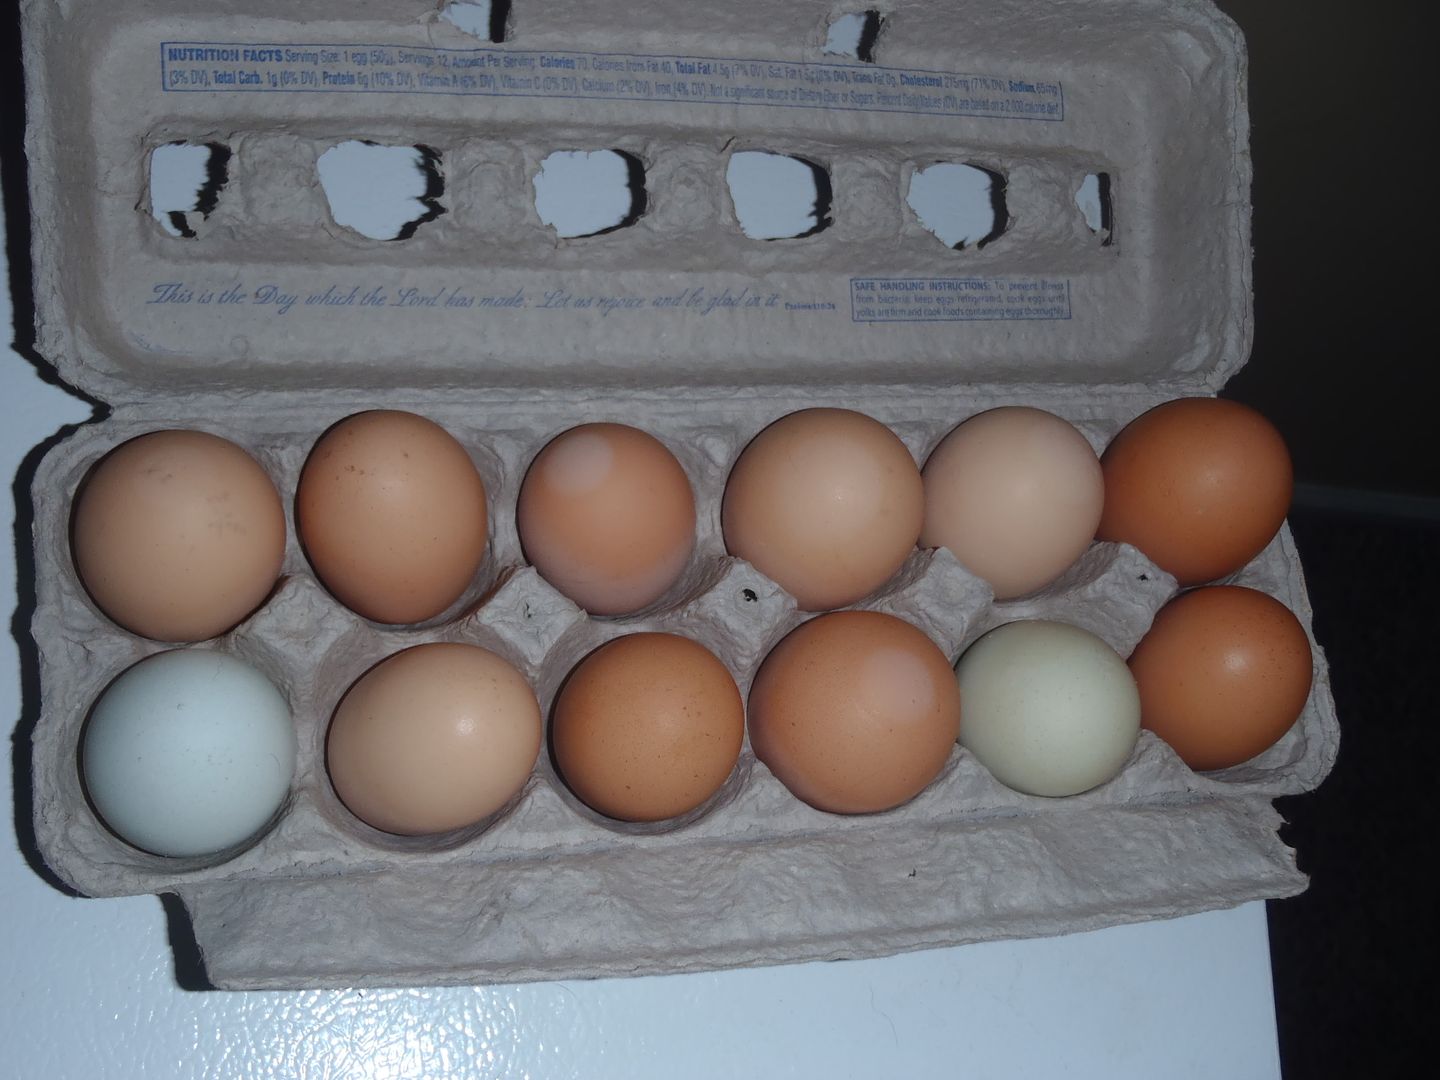
Here's the dozen we picked up yesterday. Most of these gals lay brown eggs, but we do get the occasional green, and yes, blue. That's not photoshop my friend. That is actually a blue egg.


I love boiled eggs. The problem we have in our house is the dog. A couple of years ago, gypsy ate a snake. Yes, I know. Completely disgusting. She got incredibly sick. As it turns out, snakes are loaded with bacteria, many of which are very dangerous to dogs. She ended up with THREE bacterial infections and was off dog food for almost a month. The special diet was boiled eggs, cottage cheese, rice and Sprite cubes. She ate two tablespoons of the eggs/cottage cheese/rice mixture and one to two Sprite cubes every 2 hours, day and night. Let me tell you, that was a whole mess of boiled eggs...all of which were graciously provided by the chickens above. Anyway, now any time I make boiled eggs, she thinks they are for her and will maul you to get to one.

Egg Salad

What you'll need:

  • 8 hard-boiled eggs, diced (plus one for the dog)
  •  3/4 cup mayo 
  • 1 tablespoon ranch dressing
  • 1/4 cup minced onion (We love onion so you may want to decrease this)
  • 1/2 teaspoon salt
  • 1 teaspoon mustard 
  • 1/8 teaspoon garlic, minced
  • 1/4 teaspoon pepper
  • 1 teaspoon dill weed (or one dill pickle spear, chopped finely)
 As the link above illustrates, there are many opinions on how long to boil eggs. For me, I lay out my eggs on the counter and put a large pot of water on to boil. That will let the eggs slightly warm up while you're waiting for the water. When the water starts boiling, I gently put the eggs in and let it boil for 15 minutes. Then I turn the burner off and let them sit for about 5 minutes. Next, I take the pan of hot water and eggs and put it in the sink and turn on the cold water. I let the cold water run over the eggs for about 5 minutes, then put them in the fridge for about 30 minutes, or until I'm ready to peel them.


In a large bowl, put in the eggs (peeled and diced) and the rest of the ingredients. Mix well with a fork. To me, egg salad is better when it's had a chance to set and really soak up the flavors. It can also be eaten right away.

Don't forget to put your egg shells in your compost bin!

Do you have a great recipe you'd like to share? Link it up on my blog! No rules, just a fun way to share recipes.

This post was linked to some of the parties listed here. 
Make sure you take a peek. I don't just do this to satisfy the hostesses; blog hopping is how you meet all kinds of wonderful bloggers and make new friends!

Saturday, July 17, 2010

Ziploc Baggie Omelettes

***DISCLAIMER-ZIPLOC SAYS NOT TO DO THIS BECAUSE OF UNKNOWN CHEMICALS RELEASED WHILE BOILING THEIR BAGS. I'M NOT CLAIMING THIS IS SAFE.***

This is from the Ziploc website
"Can I boil in Ziploc® Brand Bags?
No. Ziploc® Brand Bags are not designed to withstand the extreme heat of boiling."

That being said upfront, I make them anyway. Do with this information what you will...


Here's the easy way to make an omelet with no fuss


First, get a pot of water on the stove and boil. You'll want to have it about half way full of water. Then, get your omelet goodies ready to go. We used bacon


Then in a small bowl, scramble up your eggs. Plan for about 3 eggs per baggie.


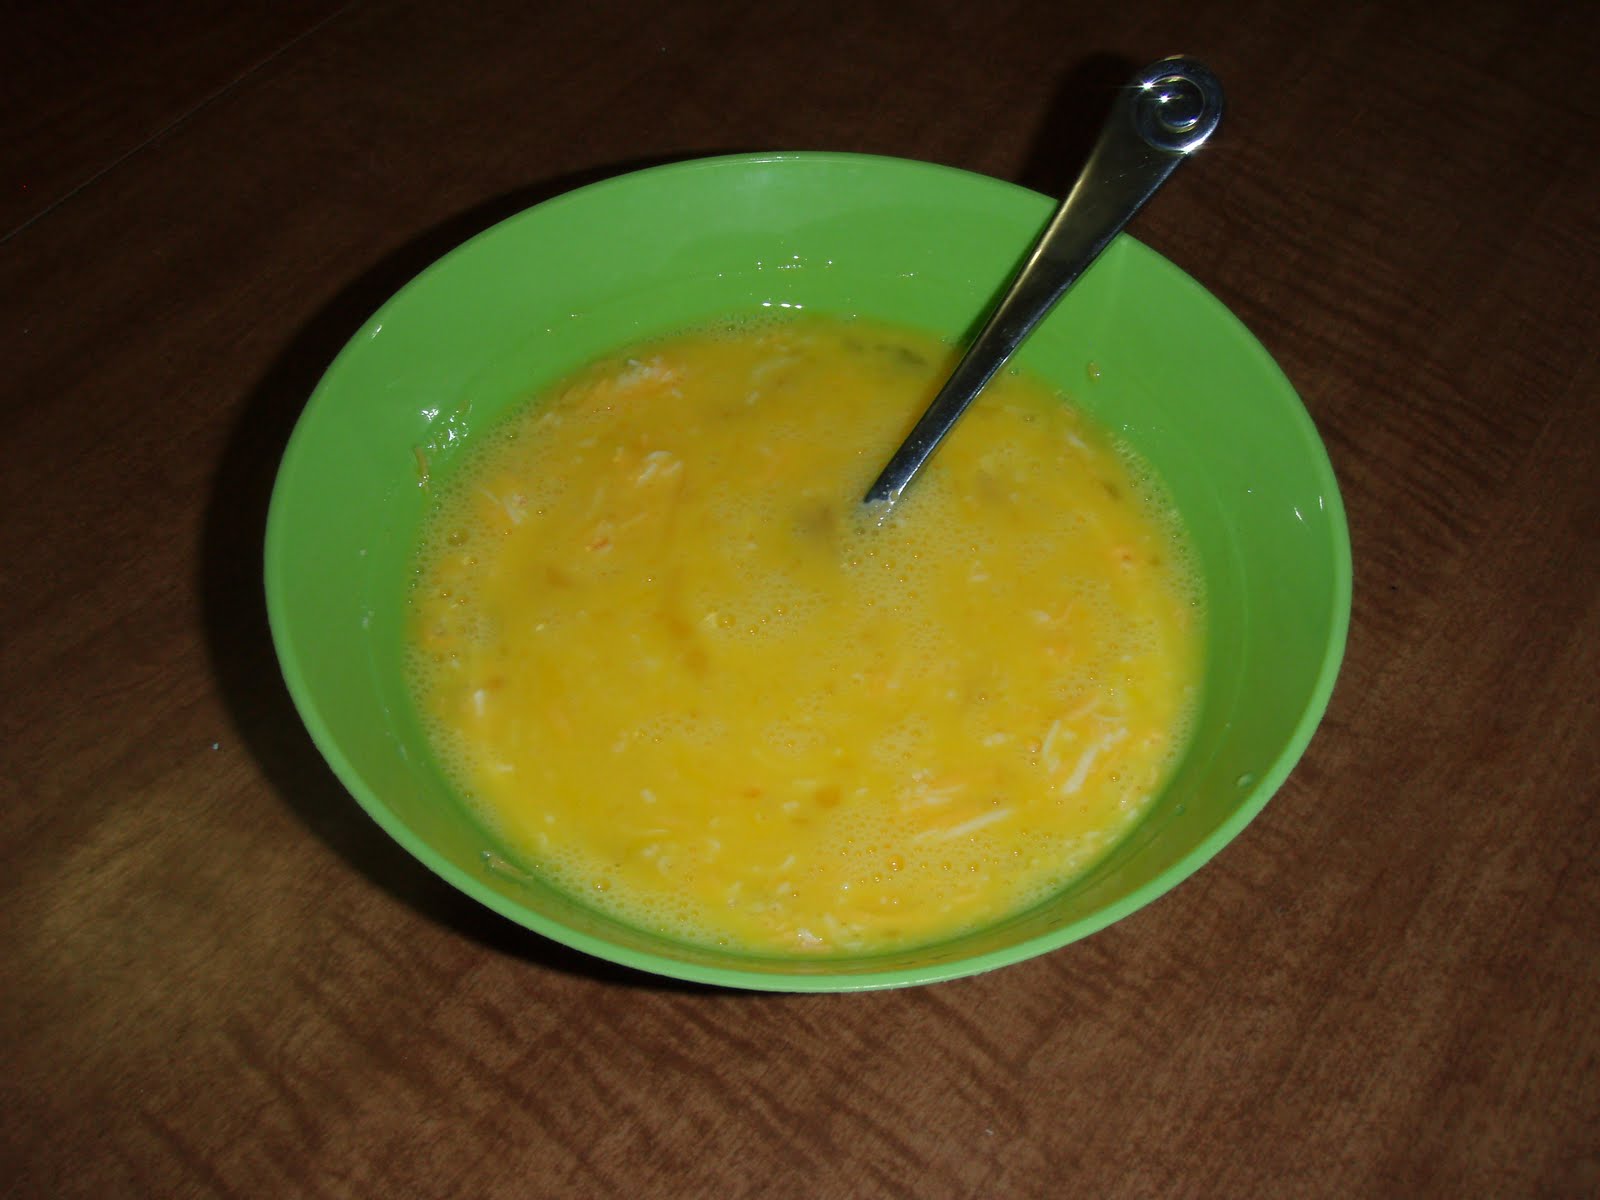
Pour into one quart size ziploc freezer baggies. Add in other goodies of your choice (sausage, onions, tomatoes, bacon, etc) and a little bit of cheese.


Place in boiling water for 5 minutes.


When it's done, it will slide right out of the bag and on to the plate!


A couple of cautions with this:

Ziploc does NOT recommend doing this!
Make sure you use freezer bags.
Make sure the entire bottom of the bag is INSIDE the pot and make sure the top of the bag doesn't fold over and touch the outside of the pan. IT WILL MELT THE BAG!

Sunday, November 22, 2009

Chicken 'n' Noodles

Sounds simple enough, but for some reason, my mom makes the best. It's to the point where I would almost swear she puts some sort of opiate in them. They tend to produce a euphoric state and are highly addictive! I won't even attempt to say mine are better, but they're good enough.

Ingredients:
Flour
Salt
Eggs
Chicken broth
Chicken pieces

In a large bowl, put a bunch of flour (3-4 cups) and a few teaspoons (2-3) salt. Mix together. Form a well in the center and add eggs. Start out with 2 or 3. Mix the eggs together in the well then slowly incorporate flour. This should form a very thick dough. If the eggs are all incorporated and it's still sticky, add more flour. If you have too much flour in the bowl that won't mix into the dough, add more eggs.
Grab a hunk of dough about the size of a softball. Roll this out until it's paper thin. That's the key to great noodles! Go back to my Kitchen Tips blog and see the section about the marble rolling pin. I couldn't even imagine making these without the marble rolling pin. When the dough is paper thin, use a very sharp knife and section the dough out to rows about 1 1/2" wide. Stack 4 or 5 of the rows up, then slice them into very narrow noodles. Repeat this process with remaining dough. Since my husband volunteered me to make these for his pitch in at work....with 50 guys....I roped him into doing all the rolling. Lay the noodles out on wax paper lined cookie sheets and let dry overnight. If you don't want to wait that long, stick them in the freezer for a few hours.


After they have dried, get out a large stockpot and put in about 4 small cans of chicken broth, chunks of chicken, and salt and pepper to taste. Set on medium to medium to high heat until broth is at a full rolling boil. When broth is boiling, slowly sprinkle in noodles. Keep sprinkling in noodles, constantly stirring. **Hint** If you don't continuously stir when adding noodles, you'll end up with one very large noodle ball. Once all noodles have been added, turn heat down to low and let simmer, covered. Stir noodles every few minutes.
At this point, it's the same as any other pasta. Just keep cooking until they are soft. My husband loves eating these over mashed potatoes. But he's one of those evil people that can eat all those carbs and still fit into his 29x32 jeans. I hate him. If you have more noodles than broth, put the extra dried noodles in freezer bags and they'll be ready to go next time. You can also use turkey in the noodles if you're making them at Thanksgiving. If you don't want the strong chicken flavor, use a couple cans broth, then add a few cans of water.